Eligible orders produced in 10 business days or less 📦 Save 20% On Your First Order +
Brands Trust The Box Lane’s Custom Packaging Boxes
The Box Lane helped these brands grow with innovative custom packaging solutions. Once brands start using tailor-made packaging for their products, the incentive of more sales, better brand value, and increased retention is enough to keep them convinced.
Buy high-quality, affordable custom mailer boxes in the size, shape, and design of your choice. Pack your products in style and give your customers a happy surprise. Save time and select the box you need with our packaging tool. Or ask our packaging experts to help you build a lovely mailer box packaging.
Get a Free QuoteUse magnetic closure boxes to improve brand value. Create a memorable, engaging, and lasting unboxing experience for your customers. Save time and quickly select the right customized magnetic closure box for your product. Play around to see how it works.
Get a Free QuoteYou need more sales and better loyalty to grow your brand.Custom product boxes let you do that.Research shows that customers like to buy from brands with better packaging, associate more value with products packed in certain material boxes, and give more loyalty to brands with finer packaging. You can’t miss out on all that.The Box Lane helps you grow your brand with fully customized product packaging.
Get a Free Quote
Find packaging for your industry. We have custom packaging solutions for all brands, products, and industries. The choices in size and design are unlimited. Give the details of packaging you need or get help from our experts. Start with a free quote today.
Realize the full potential of your brand with customized packaging. Join hands with us, start easy, grow smoothly, get help at every step, and build a brand worth boasting.
NO DIE & PLATE CHARGES
QUICK TURNAROUND TIME
FREE SHIPPING
FREE GRAPHIC DESIGNING
STARTING FROM 100 BOXES
CUSTOMIZE SIZE & STYLE
Each product requires some customization in size, design, or style. Not all custom box manufacturers will do that. The Box Lane takes the challenge and delivers the right packaging for all brands and products.
Browse Packaging by Box Styles
Check out our range of different box styles. Select the one we have or tell us what you need, and we will make it for you.
Explores StylesThe Box Lane offers services to make it easier for you to start with packaging and custom boxes. We help you with every step of the way.
Go for the Best Size
Save cost, achieve better packaging, and protect merchandise with right-sized custom boxes.
Select Right Style
Ask us about the right packaging style for your product and we will help you with our experience to pick the best.
Pick Right Material
The right material would match or exceed perceived brand value. We help you understand materials and their suitability in a free consultation.
Choose Best Finishing
Consult us when you need help in understanding different finishes. Enhance brand personality with the right packaging and finishing.
Free Design Help
For solopreneurs and small brands, take advantage of our free design consultation.
See Design on a Sample
Get a free 3D mockup or a sample and see how the design looks on the final custom packaging.
Unlimited Creativity
When it comes to custom box design customization, anything is possible.
Design that Matches Branding
Product design is your tool for reinforcing branding, use it so.
Get Free Sample
Request a free sample to see what product packaging looks like for your brand.
Get 3D Mockup
Finalize the design quickly by getting a 3D mockup of the design.
See Dieline for the Packaging
Confirm the packaging technical drawing and see its dieline when you place an order with us.
Check Quality with a Pre-made Sample
Check material, finish, size, add-on, etc., with a pre-made sample.
Fast Turn-Around
Get expedited orders in 8-10 days (about 1 and a half weeks) and regular orders in 14-18 days (about 2 and a half weeks).
Scalable Production
Start with 100 units today or order 1 million units, we will manufacture it before time.
Constant Feedback
You keep getting updates as we progress on your order, you become a part of the team working on your order in a way.
State of the Art Facility
We keep innovating to make sure we produce the best packaging for our customers.
Free Shipping
We offer free shipping for all orders, contact us for more details.
Trackable Shipping
Keep tracking your shipment all the time with the tracking number.
Reliable Shipping
We only use reliable services like FedEx, UPS, and DHL.
Timely Delivery
For small brands and e-commerce sellers, get timely delivery and never cancel an order.
Choose from the range of materials, finishing, and add-ons. Mix them to create unique custom packaging for your brand. When stuck, get help from our free packaging consultation.

We offer premium white cardboard stock in 16pt-24pt thickness, there is no limit on printing colors.
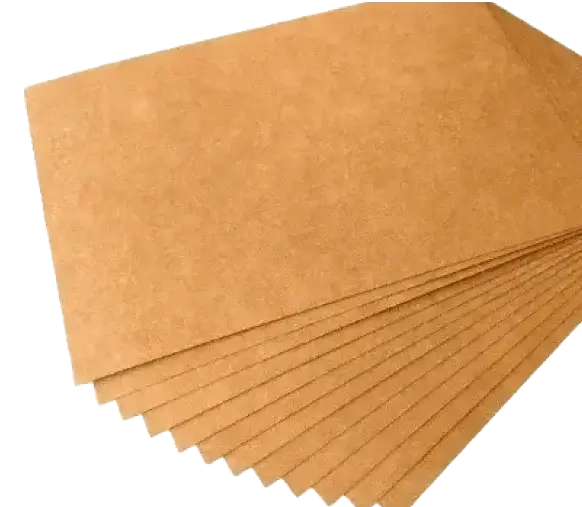
Kraft stock is a brown, eco-friendly, recyclable material that is available in 16pt-24pt thickness range.
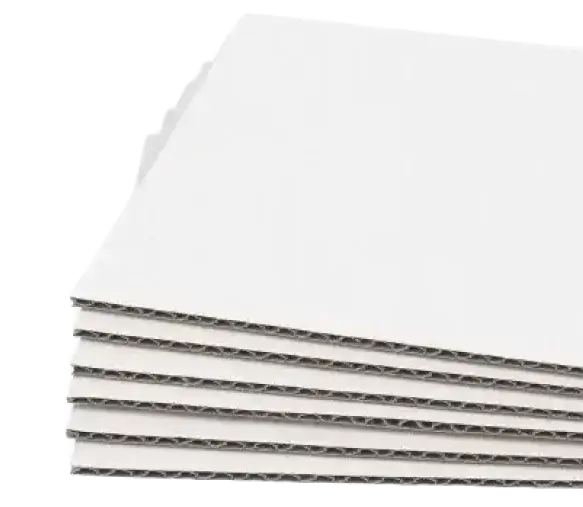
Hard, shock-absorbing material, also called e-flute, corrugated stock is the go-to material for shipping boxes.
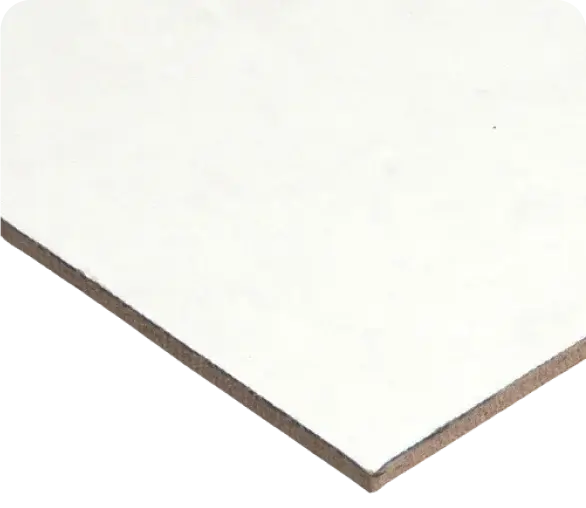
Thickest available material for cardboard packaging, Rigid stock is available in 1000 gsm-1900 gsm weight.
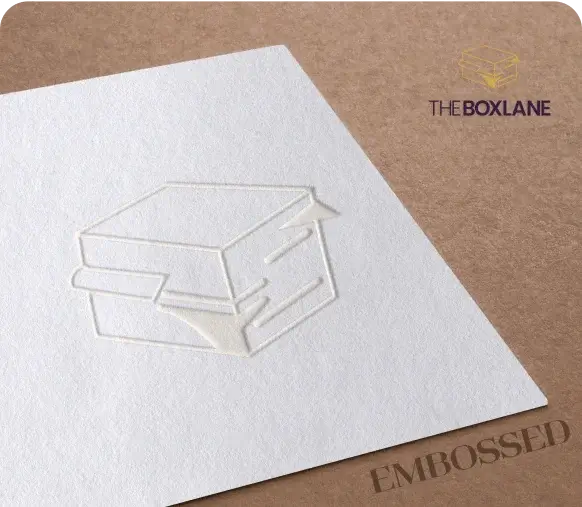
Embossing is the technique of lifting an image or text a little off the surface to highlight it.
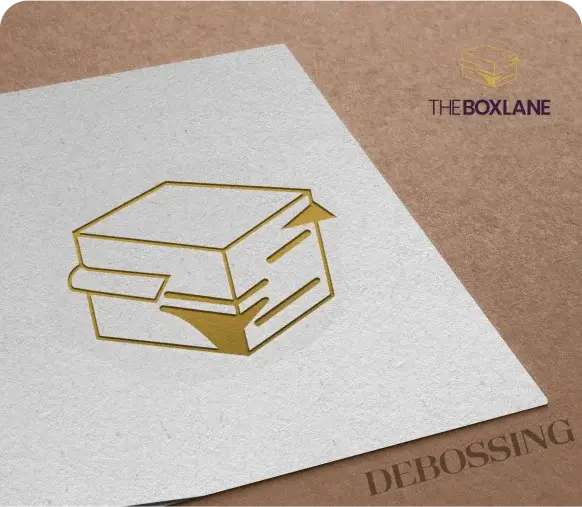
Debossing is the printing technique that suppresses the text or image.
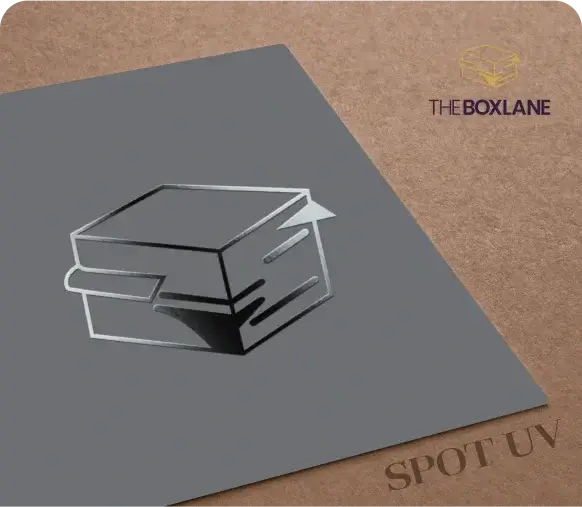
Spot UV coating gives more gloss and shine to an area that you want to highlight.
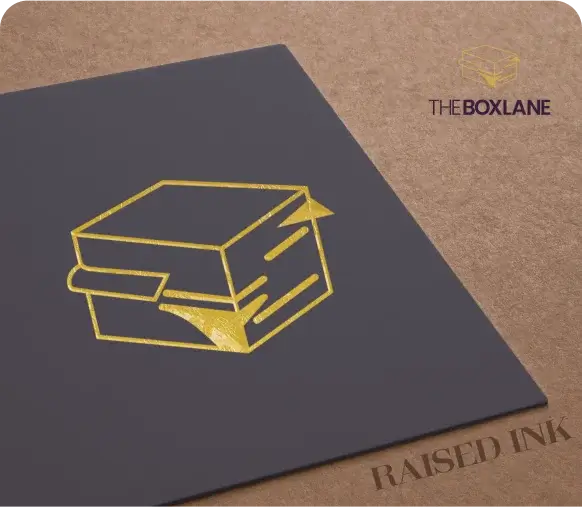
Raised ink gives text a raised and shiny look that brings an impression of luxury.
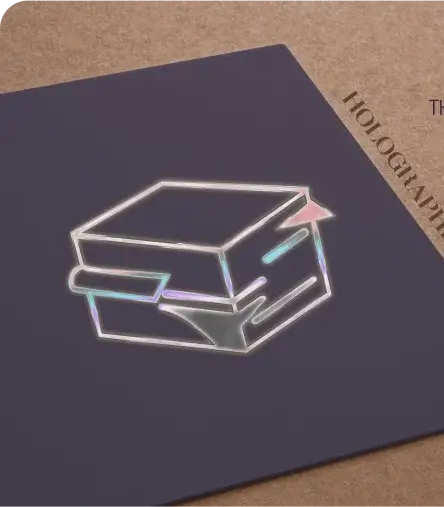
Holographic foiling helps focus the gaze on the specific area by playing with color variation with angle change.
We dedicate a lot of resources and effort to delivering a happy experience for our customers and their customers. All it takes is a happy review from a delighted customer to make our day.
Read our FAQs to quickly know how we can work together. These are common questions that we get about custom packaging boxes. If you have a specific question about your packaging, sample or order, please contact us.


.jpg)